Full house transformation
A tired pebbledashed semi or detached taken back, insulated or bonded, and finished in a modern silicone. The single biggest change you can make to a property's kerb appeal.
The work we're best known for, and where 25 years of experience shows. Through-coloured silicone render on houses, extensions and new builds — specified, prepared and applied as a complete system.
Silicone render — K Rend being the best-known name for it — is a modern, factory-made system that replaced the old sand-and-cement-and-paint approach. The colour is mixed right through the top coat rather than painted onto it, so a scratch or a chip doesn't show up as a white scar, and you're not repainting the house every five or six years.
It's also water repellent but breathable. Rain beads off and runs away, while moisture inside the wall can still get out — which is exactly what you want on a British house, and exactly what a lot of older render systems got wrong.
The catch is that a bag of silicone render is only the last two days of the job. Everything that determines whether it still looks right in fifteen years happens before that: what's underneath it, what it's bonded to, where the beads sit and where the water goes.
A render system is a sequence, and skipping a step in it is how you end up with a cracked, banded or blown elevation. Ours runs like this:
Worth knowing before you compare quotes.
An elevation needs to be finished in one go, wet edge to wet edge — stopping partway through is what causes the faint tide-lines you sometimes see on rendered houses. We plan our teams and our days around completing whole elevations, and that's built into the price we give you.
We work in K Rend, Weber (Saint-Gobain), Johnstone's Stormshield and EcoRend systems. All offer a wide standard colour range plus bespoke matching, and several textures:
On colour: whites and off-whites look sharp but show more; mid greys and warm greys are what most people in the North West end up choosing, and they weather kindly. We'll bring samples out and look at them against your brick, your roof and your neighbours' houses before you commit — not off a phone screen.
Almost every failed render we get called out to comes down to one of four things, and none of them are the fault of the product in the bag:
Our quotes include the work needed to avoid all four. If you're comparing prices and ours differs from another, do ask us why — we're always happy to walk you through what's included and let you make an informed decision.
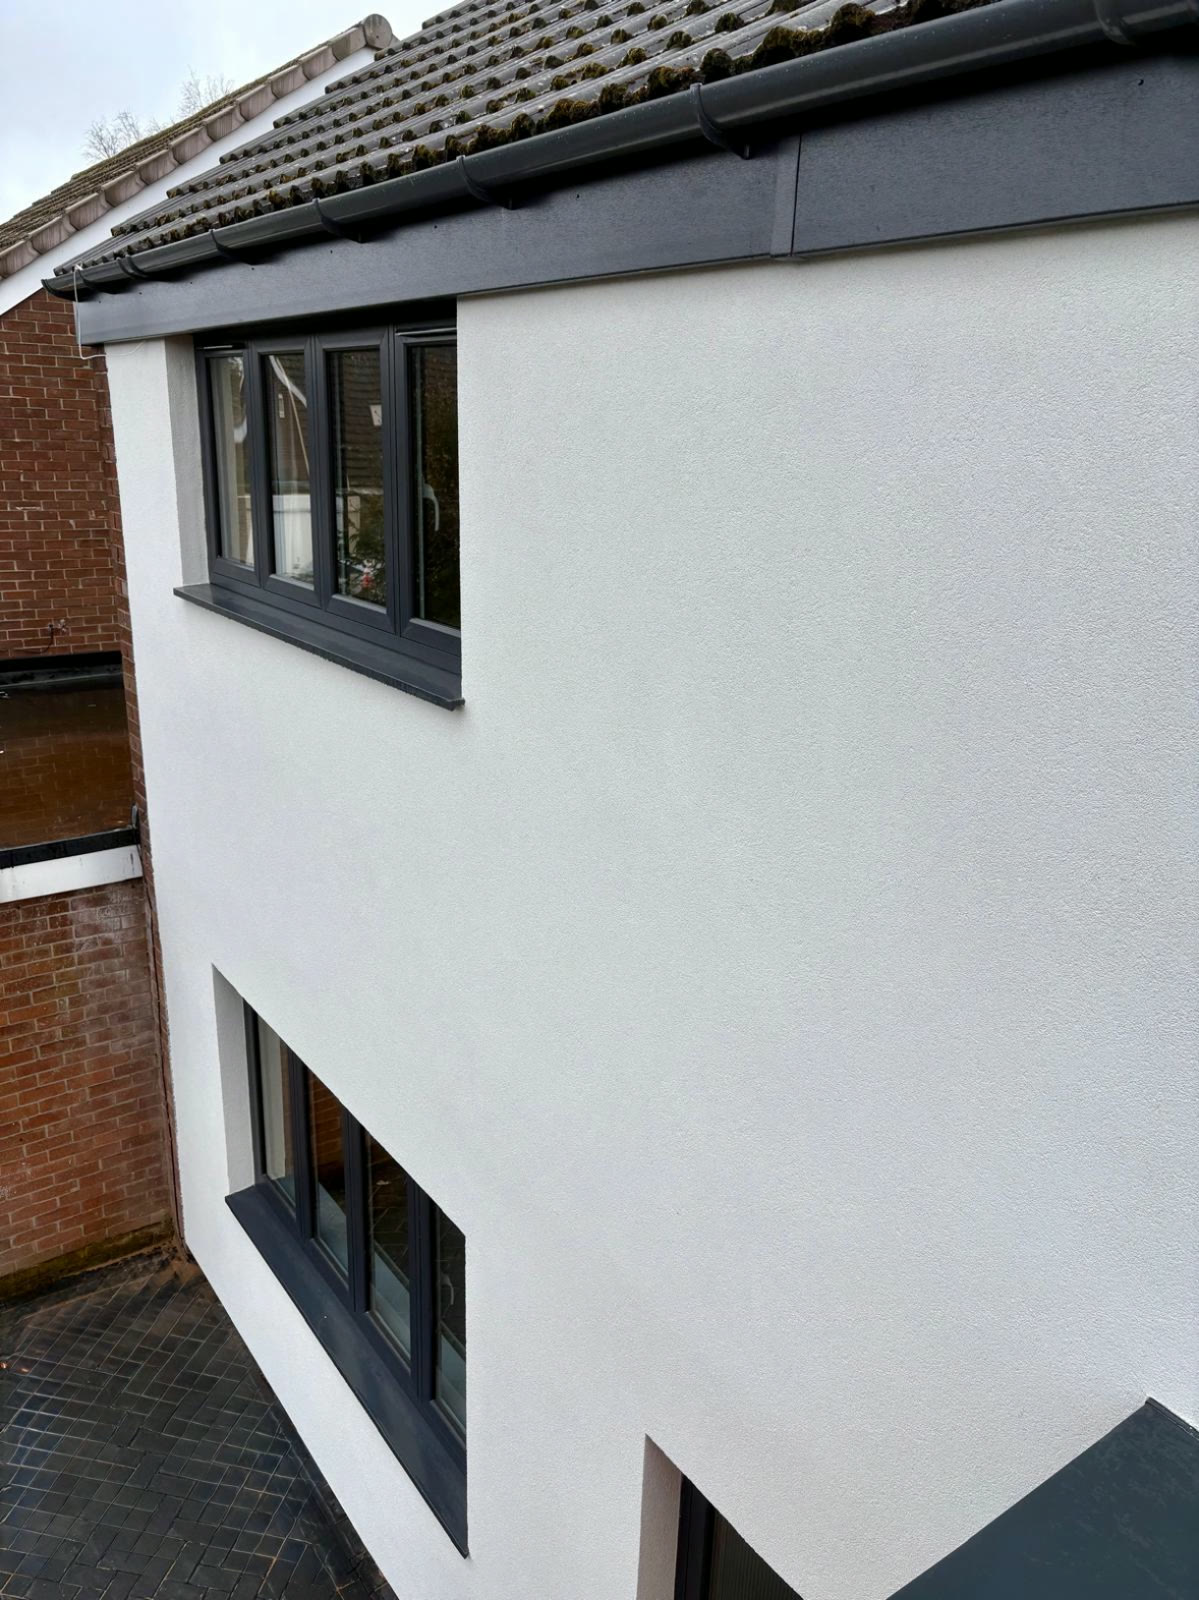
Start to finish
A 10mm Johnstone's silicone system on a domestic elevation: beads set first, a reinforced basecoat, then a 1.5mm through-coloured top coat.
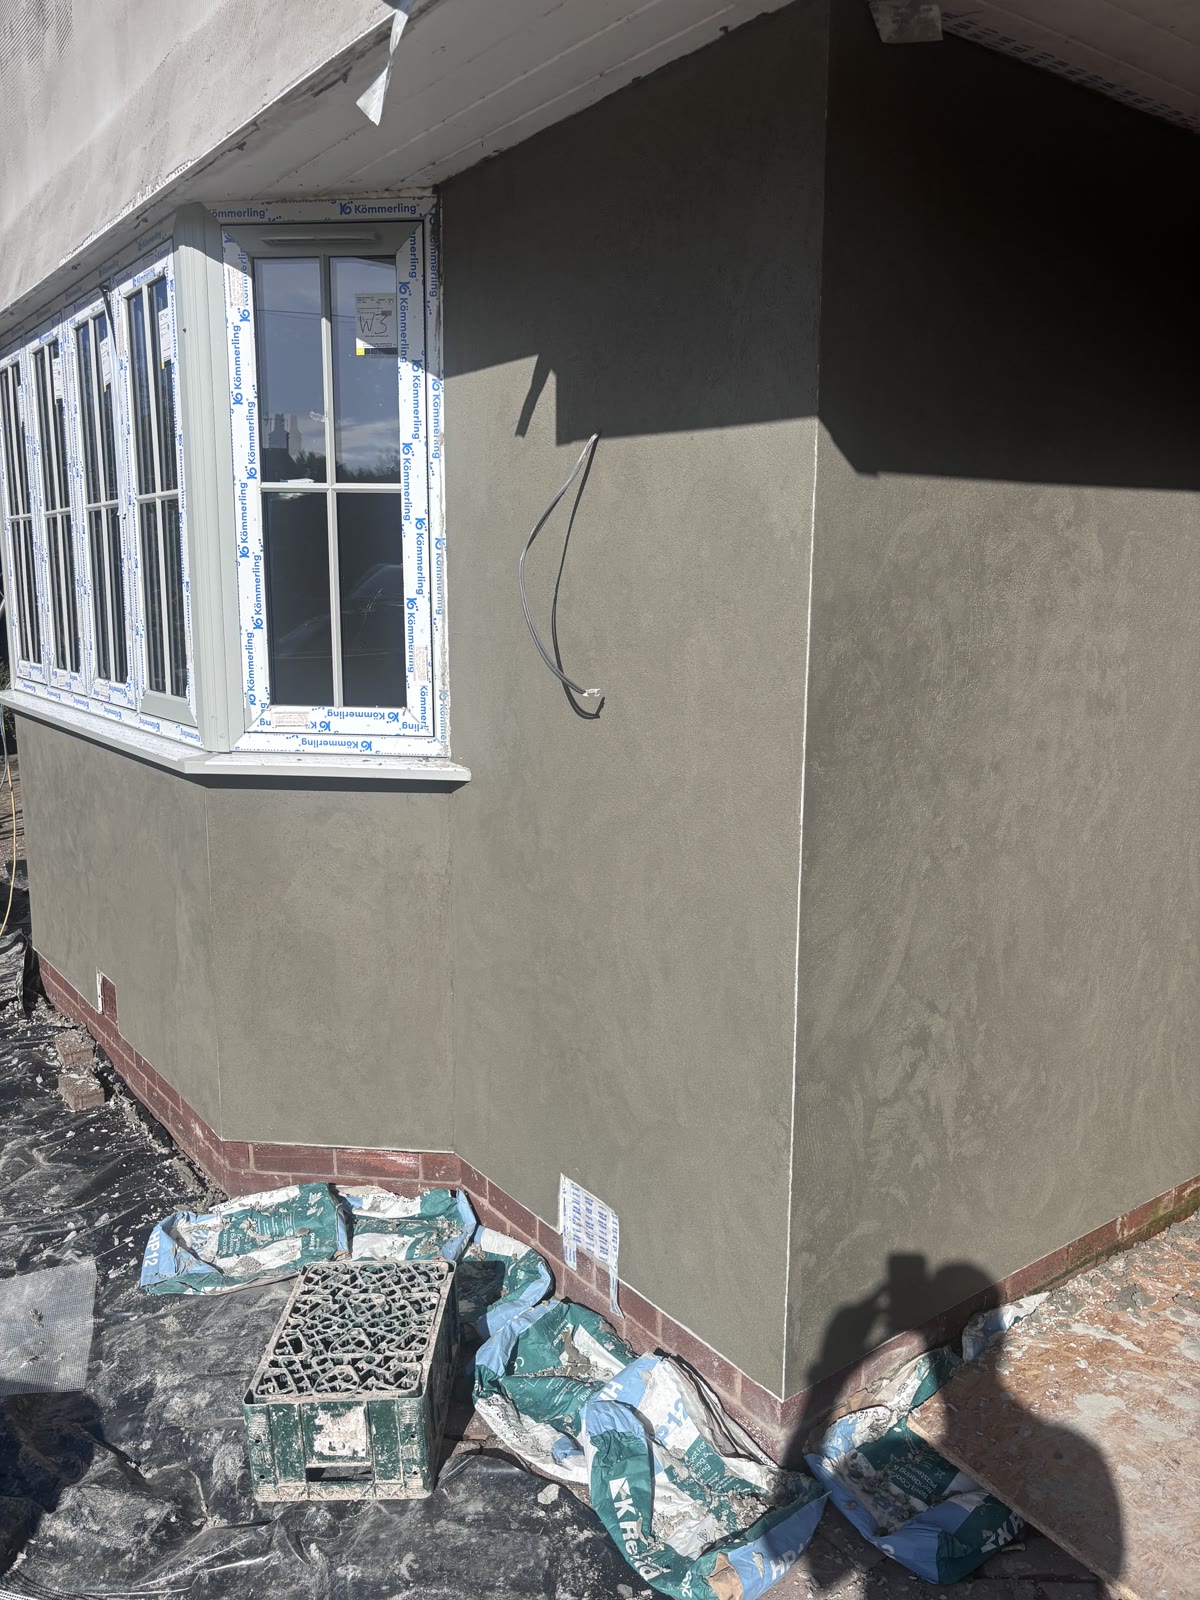
Basecoat worked flat across the full elevation with reinforcing mesh embedded through it. This is the layer that stops cracks travelling.
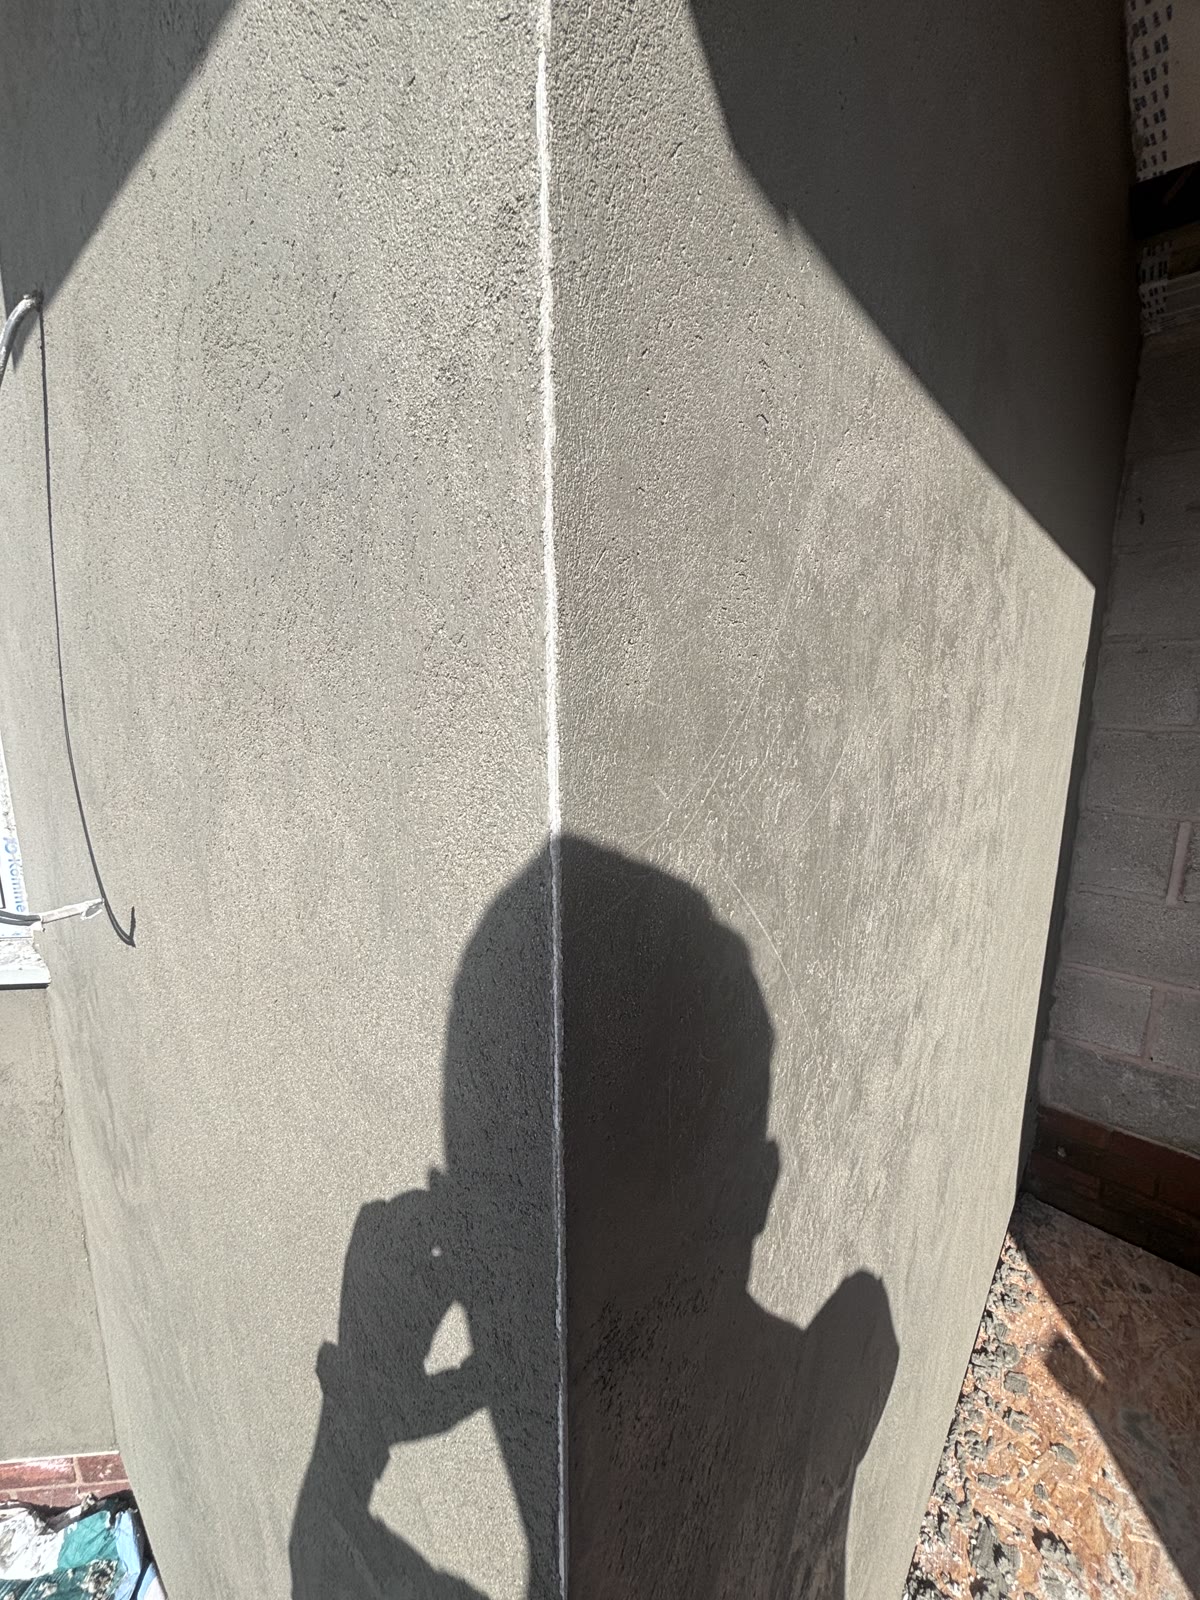
Corners, bell casts and stops have to be dead true. Every one of them becomes a line you'll look at from the road for the next twenty years.
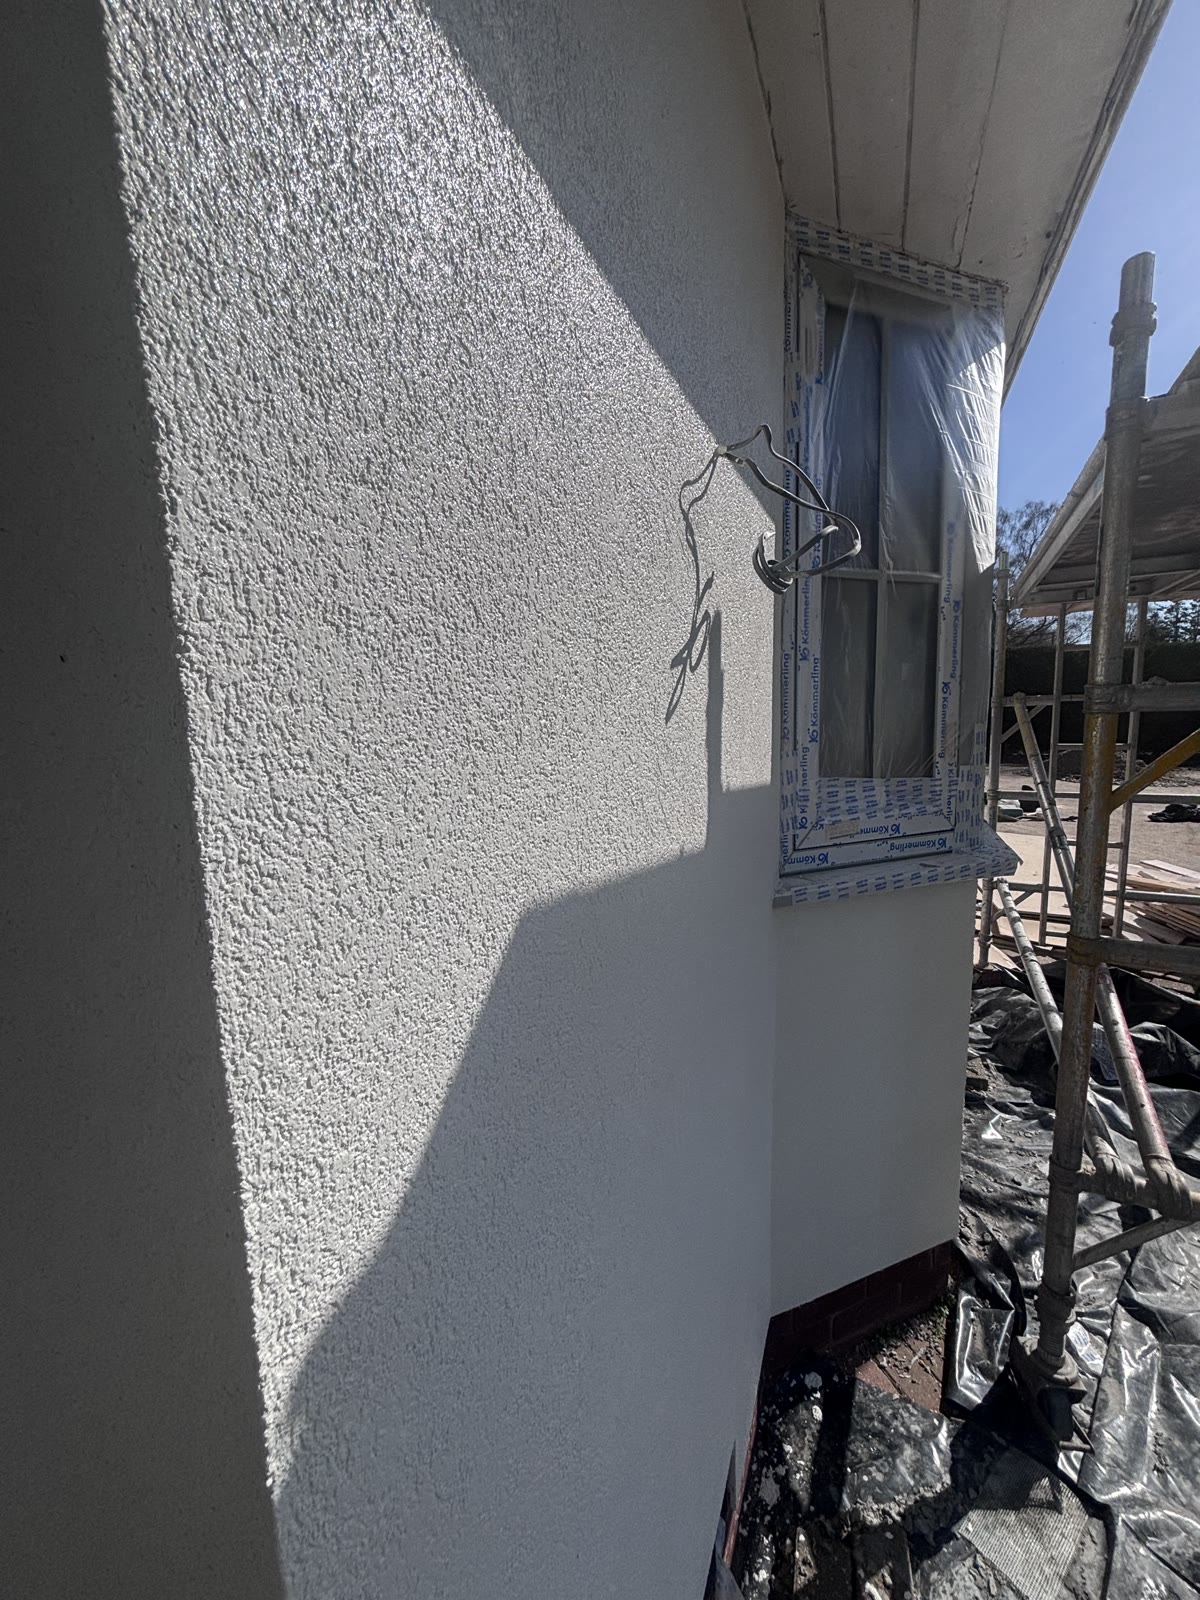
The through-coloured silicone top coat. That 1.5mm is the grain size of the aggregate — it's what sets how coarse or fine the finish reads.
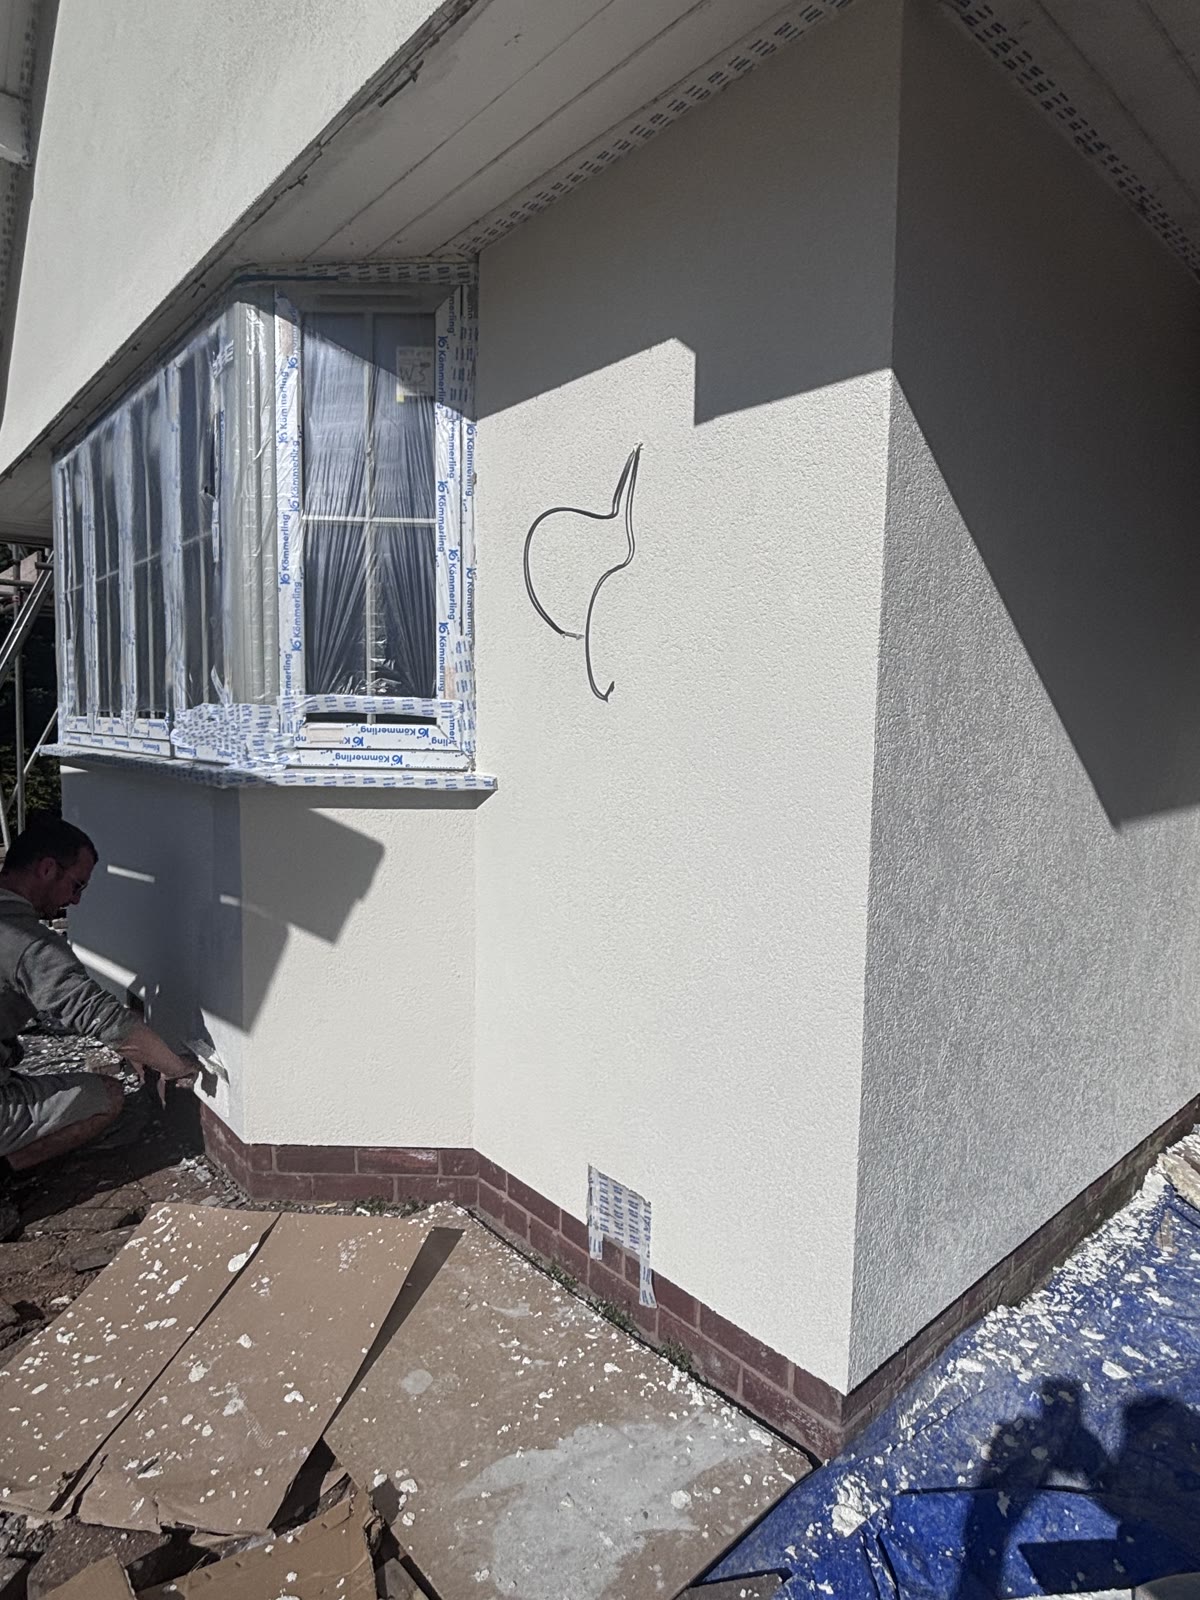
Colour runs all the way through the top coat rather than sitting on the surface, so a chip doesn't show up as a white scar.
What "10mm system" means.
It's the total build-up over the wall — basecoat plus top coat — not the thickness of any one layer. Worth knowing when you're comparing quotes, because a thinner build-up is cheaper to supply and to apply, and it's not always obvious from a price which one you're being offered. There are videos of this job in the gallery, including the basecoat being floated and a walk-round of the finished house.
Typical projects
A tired pebbledashed semi or detached taken back, insulated or bonded, and finished in a modern silicone. The single biggest change you can make to a property's kerb appeal.
New blockwork rendered to match, or the whole property brought into one colour so the extension doesn't read as an add-on. Usually the better-looking option.
Working to the architect's spec and the developer's programme, plot by plot, with a consistent finish across a site rather than plot-to-plot variation.
Questions
A correctly specified and correctly applied silicone system should give you decades of service. The variable is rarely the product itself — it's the substrate preparation, the basecoat, the beading and the water detailing underneath. That's where the life of the job is decided, and it's where we concentrate our effort.
No. The colour runs all the way through the top coat rather than sitting on the surface, which is the main reason people move away from painted sand and cement. Over many years you may want it cleaned down — but that's a wash, not a repaint.
Sometimes — it depends on whether what's already there is sound and well bonded. We'll hammer-test it before quoting and let you know whether it can be built over or is better removed. Rendering over a wall that's already failing tends to be a false economy, so we'd always rather establish that at the quoting stage.
Render shouldn't be applied in frost, driving rain or strong direct sun. Spring through autumn is the most comfortable window up here, though winter work is perfectly possible with sheeting and a close eye on the forecast. Where conditions aren't right we'll wait a day rather than compromise the finish, and we'll always keep you informed if that affects the schedule.
For most houses, rendering is permitted development and doesn't need permission. It's different if you're in a conservation area, a National Park, or the property is listed — and some newer estates carry restrictive covenants on external finishes. Worth a five-minute call to your local planning department before you order scaffold.
It depends on the size and height of the elevations, what's already on the wall, how much preparation is needed, the system chosen and the scaffold required — which is why we always visit before confirming a figure. We'll measure up and provide an itemised written price so you can see exactly what each part of the job costs.
Recent render work
Send a photo of each elevation and a postcode — we'll tell you what's involved.